Changing the internal plate or the external plate or both ? Here is how to carry out this operation of cyclist mechanics.
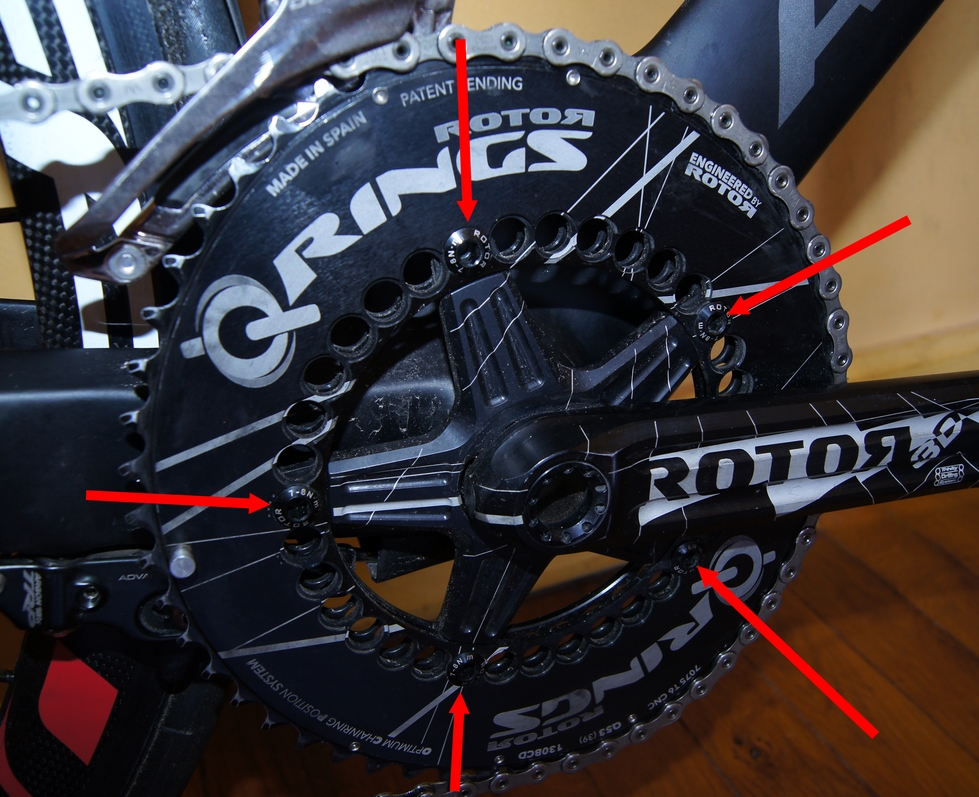
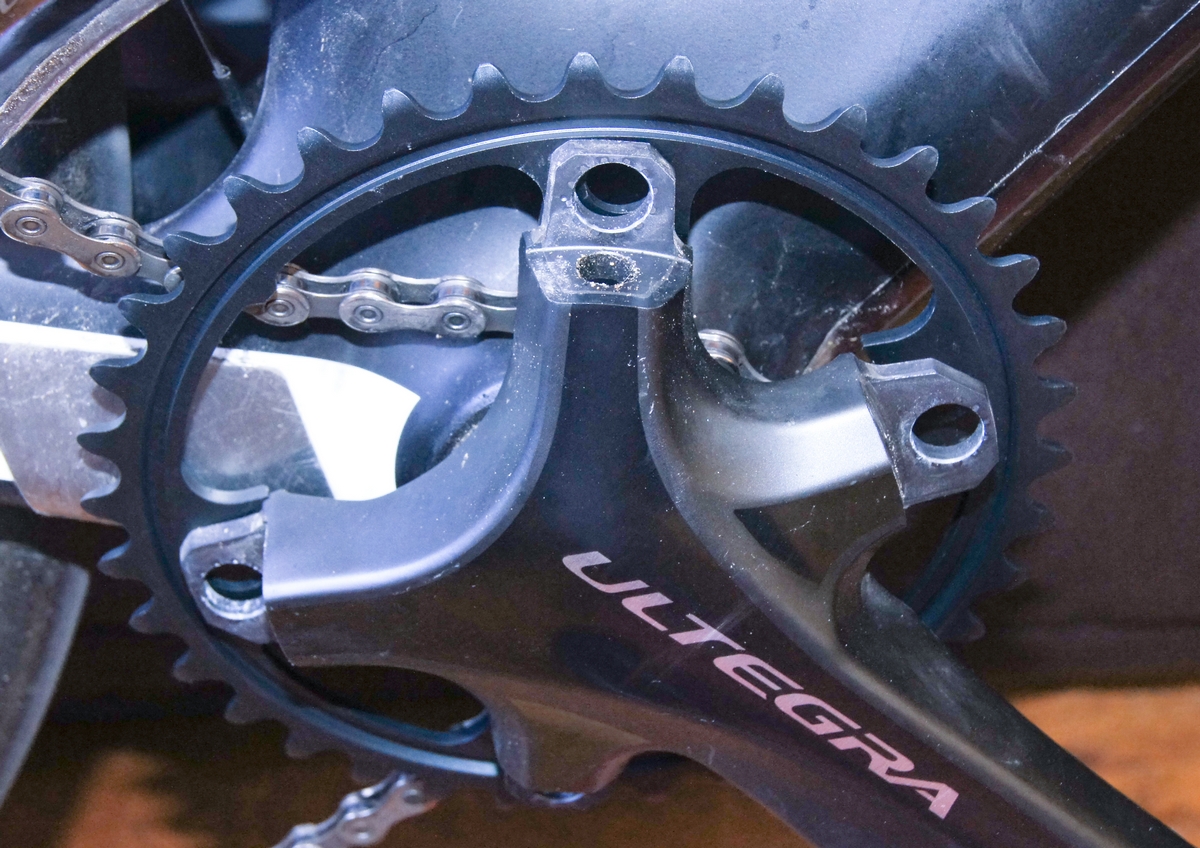
When you look at your crankset, you will see several screws that hold the chainrings. Depending on the model, they will be either inward – as on Shimano cranksets – or outward – as on Rotor, FSA or Campagnolo cranksets. Whatever the model, the procedure remains the same, the clamping screws of the plates will just be more accessible in the second case.

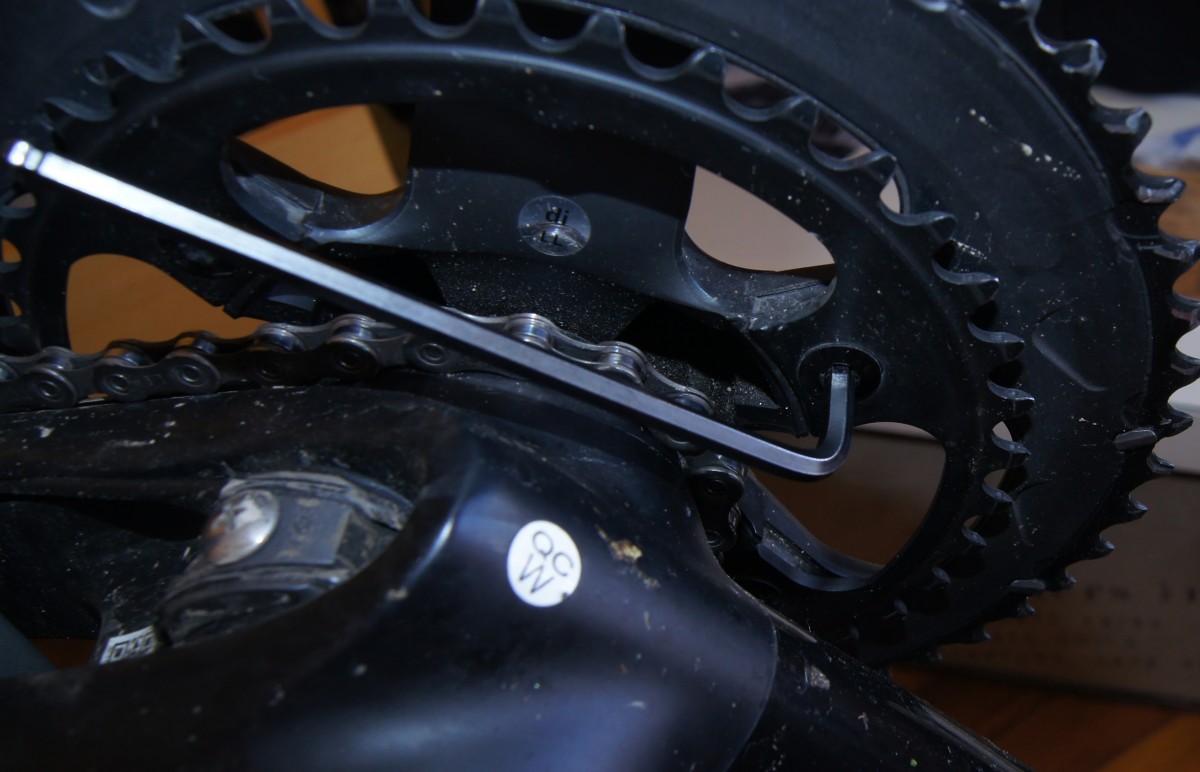
Usually, I start by cleaning and then placing the chain on the bottom bracket during this operation. This avoids having to dismantle it and placed like that, it does not interfere with tray changes.
Disassembling the trays
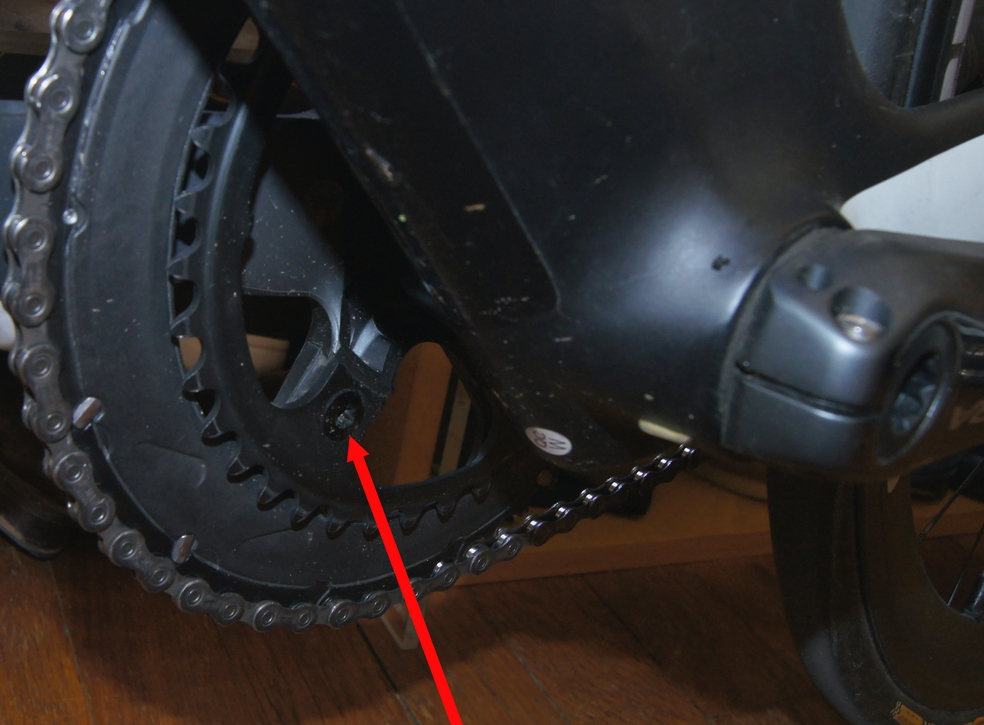
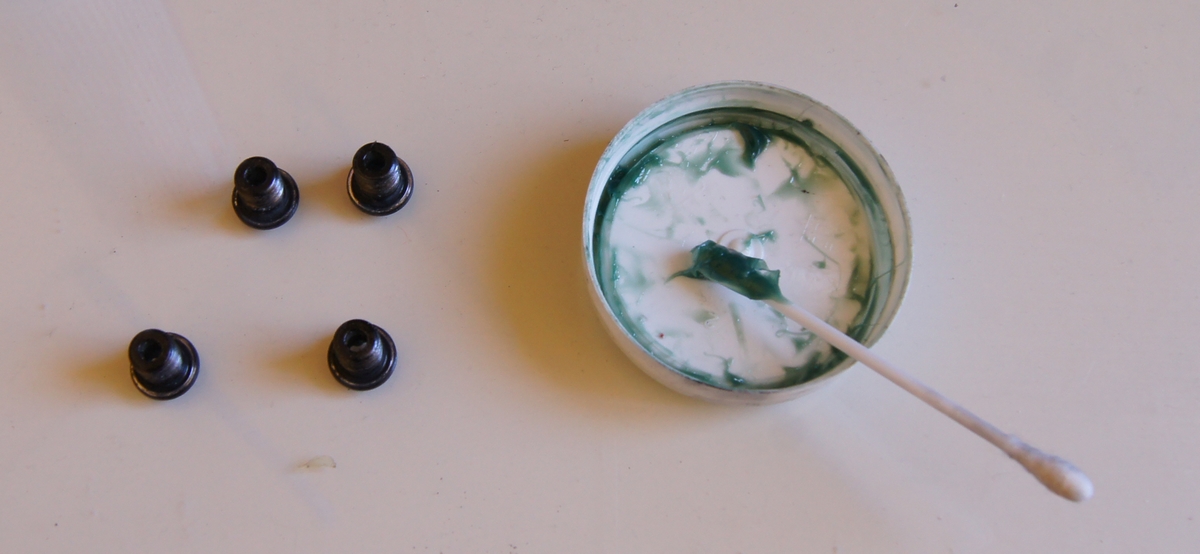
To uncouple your chainrings from the crankset of the best hybrid bikes, nothing could be easier. All you have to do is use an Allen key to unscrew the screws that hold the trays. If the screws resist, don’t hesitate to give your key a jolt. Remove the four or five screws four for the Shimano 11-speed crankset, five for the others. Keep them carefully on the side as they will be used again later.
Here are your toothed rings uncoupled, to disassemble them completely, to pass them around the crank of your crankset.
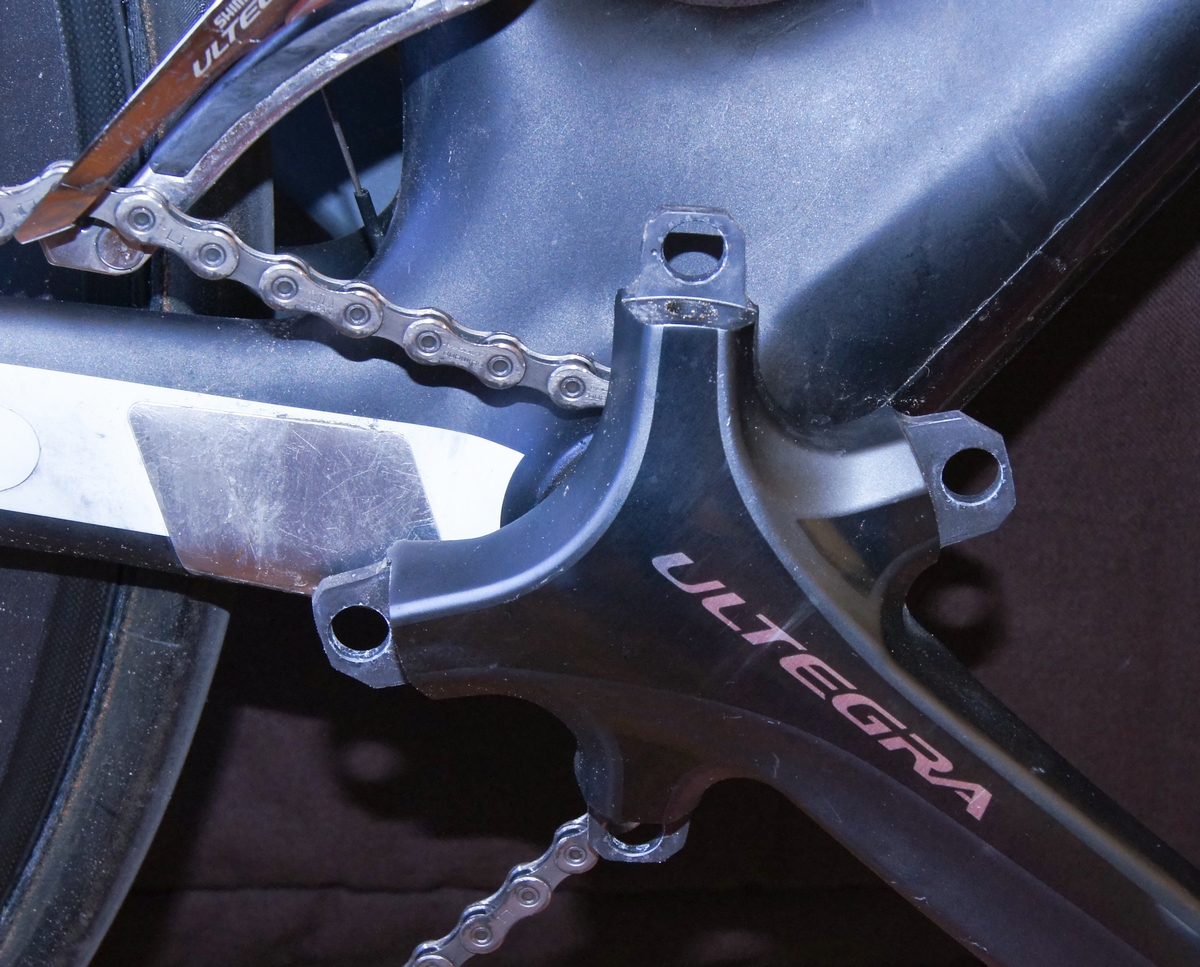
Once this first step is finished, the bottom bracket and the inside of the star of the bottom bracket being relatively accessible, I take the opportunity to clean them with a cloth.
Reassembling the trays
In the same way that you removed your chainrings by passing them around the crank, proceed the same way to reassemble them.
Start by setting up the small tray. In this case, it is inside the bottom bracket star – In theory, the construction of the bottom bracket is such that you can’t go wrong with it.
Then insert the large crown by passing it around the crank. Again, you can’t go wrong with the mounting direction.
With both platters positioned, you can now replace the screws. I usually put a thin layer of grease on the threads to prevent them from seizing and to facilitate subsequent disassembly.
Finally, tighten them tightly and finish the operation by replacing your chain.